
Where Are Choicer Voicer Dubs Saved?
Saved Choicer Voicer dubs go into a recordings folder inside the game files — dub_recordings — as WAV audio with timing data, not as a finished video. This guide shows exactly where those files live, how to rewatch a dub in-game through the saved-recordings button and Dub Cinema, and how to turn a saved dub into an MP4 you can share.
choicervoicer.info is an independent fan site. We are not affiliated with YeahMaybe. File facts on this page come from the official content guide, the developer’s devlog, and the itch.io community.

The Short Answer: recordings/dub_recordings
Choicer Voicer saves your takes in a recordings folder inside the game files: recordings/dub_recordings. Each finished dub becomes its own recording-session folder there, holding one WAV audio file per line you performed plus the timing data that lines the audio up with the scene. The game does not save a video file — the scene video lives in the pack itself, and your takes are replayed against it from that timing data.
This is a real stumbling block for new players. The most-viewed thread in the game’s itch.io community, “Saved recordings” (roughly 12,000 views), opens with exactly this question: where did my recording go? The answer that resolved it — the saved-recordings button in-game and the dub_recordings folder on disk — is the same information this page walks through.
One more boundary before the details: the game stores everything at a fixed location no matter which drive you installed it to, and there is currently no setting to change that. Players on the community “Change save location?” thread confirmed it on Windows and while trying a Steam Deck setup; the developer has not replied with a configurable option.
What Is Inside a Saved Dub?
Open a recording-session folder in dub_recordings and you will find audio, not video. Here is what the files are.
One WAV per performed line
Your takes are stored as WAV files named by line and character — the pattern looks like _dubrecord_01_Character.wav, _dubrecord_02_Character.wav. Community tools read exactly this naming, which is how we know it.
Timing data, not a rendered file
What syncs your audio to the scene is timing data — dub packs carry timestamps in .txt or .ini files, and the game replays your WAVs against the pack’s OGV video using that data. A saved dub is a session, not a movie file.
Date-and-time folder names
Recording sessions are identified by when you recorded them. Since version 0.5.2, saved dub filenames use a space between the date and time instead of the letter “T” — a small change that makes the folders friendlier to read.
A temp copy while you record
Since 0.5.3, every clip and its data is also saved in-between turns in a temp folder, so a crash mid-dub asks whether to continue the pack instead of losing the session. Gameshow mode does not have this recovery yet.
How to Watch a Saved Dub In-Game
You do not need to touch the folders to rewatch a take — the game has two built-in ways, and the button is easy to miss.
- 1
Open the scene you dubbed
Go to the scene in Dub Mode. If you have a saved recording for it, the screen changes: instead of the usual Start! flow, a blue button appears under a saved recordings section. Players in the community thread say they would never have found it without help — it only shows up on scenes you have actually recorded.
- 2
Use Dub Cinema for a proper rewatch
Version 0.5.2 added Dub Cinema, a mode for rewatching saved dubs with judge and contestant packs appearing as a cinema audience. The sidebar gear menu controls viewing options, and you can sit in the seats. If you record often, this is the comfortable way to review takes.
- 3
Check playback quality there first
Some players report low-quality playback of saved recordings in-game. Confirm how it looks and sounds in the game before troubleshooting your files — the issue is in the replay, not necessarily in your WAVs.
The in-game answer comes from the community’s “Saved recordings” thread, where a player documented the blue button with screenshots.
Why There Is No Video File to Find
Searching your folders for a .mp4 is the natural first move, and it fails by design. The developer’s own 0.5.0 release post states that dubs save audio, not video, and replay via metadata. The video component of every dub is the OGV file inside the dub pack itself (the pack will not even load without an OGV named dub_video), so the game only needs to store what you added: your voice and the timing.
That design is why requests for a built-in export keep appearing in the community. A September 2026 thread titled “Option to save full dubs?” asks for exactly that — saving the dub clip in its entirety — because sharing currently means capture software or a community tool. The developer has not shipped a native full-dub export.
The official content guide confirms the other half of the puzzle: the dub pack’s video is what plays back, with your recordings layered over it at show time. Nothing is flattened into a single video file anywhere in the official flow.
Can You Change the Save Location?
No — not today. The game writes mods, saved dubs, and pack files to one fixed location regardless of which drive the game itself is installed on. A community thread asks for the option to change it, and the replies explain the practical pain: one player got the Windows build running on a Steam Deck but could not point the game at pack files stored elsewhere, and the Linux build would not boot on the Deck at all.
The developer has not replied in that thread, and no settings menu in the current client exposes a save-directory option. Treat any guide claiming a config edit to move dub_recordings as unverified.
What you can do is find the folder the honest way: the in-game menu has an Open Game Folder button (players describe using it to reach the packs_voice folder), and recordings sits beside the pack folders in the same game files area. Install packs go in packs_voice; your finished dubs appear under recordings/dub_recordings.
How to Turn a Saved Dub Into a Video
Two real options exist. One is a community tool that reads the sessions directly; the other works on any setup but costs quality.
- 1
Render an MP4 with the Dub Renderer tool
The Choicer Voicer Dub Renderer on GameBanana is a standalone Windows tool that automatically detects your saved recording exports, locates the matching dub pack, places every recorded WAV at the correct point in the original video, and renders an H.264 MP4 to any output folder you choose. No modification to the game is required.
- 2
Pick the exact session folder
The tool wants the recording-session folder containing the _dubrecord WAV files — not the whole dub_recordings directory. It also supports co-op dubbing: participants record the same scene separately and their session folders are combined into one video.
- 3
Or screen-record the playback
The fallback is pointing capture software (OBS, or your platform’s game bar) at Dub Cinema or the in-game replay. Community threads recommend this when the renderer is not an option, with the usual trade-off: capture quality, not file quality, becomes your ceiling.
Community tool: Choicer Voicer Dub Renderer + Co-op Dub Tool on GameBanana.
Where Recording Happens — and How the Files Come Out
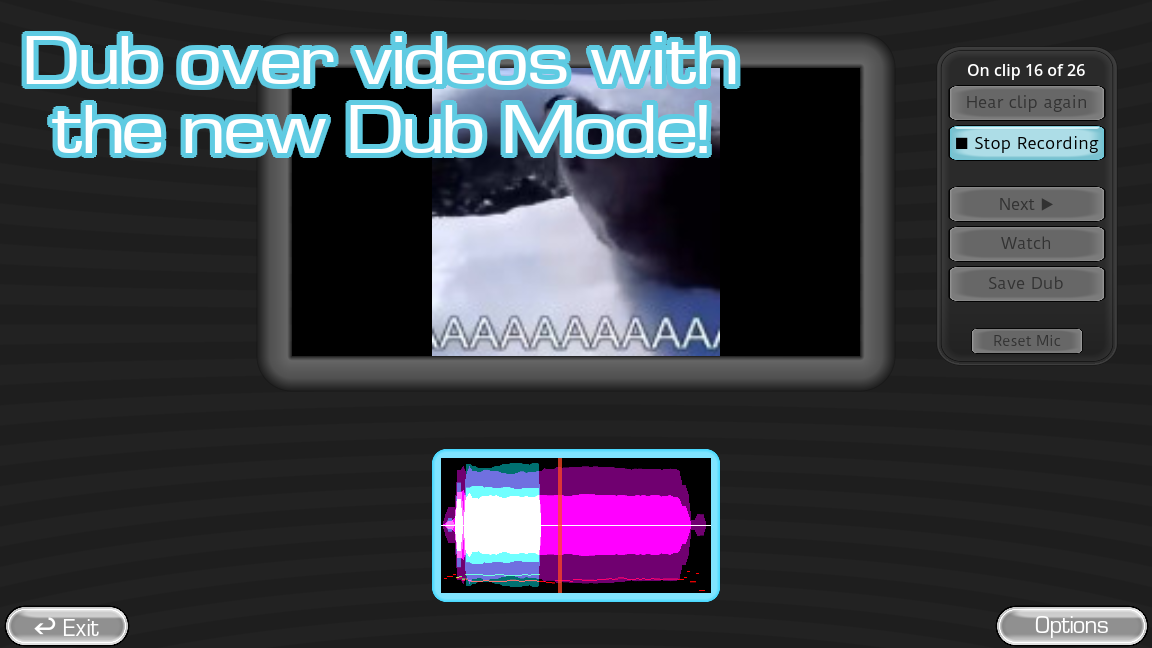
Saved dubs start on this Dub Mode workspace: every line you record there lands as a WAV in the recordings/dub_recordings folder, with timing data that lines it up against the pack’s video. The tutorial below opens the same game-folder structure the packs live in.
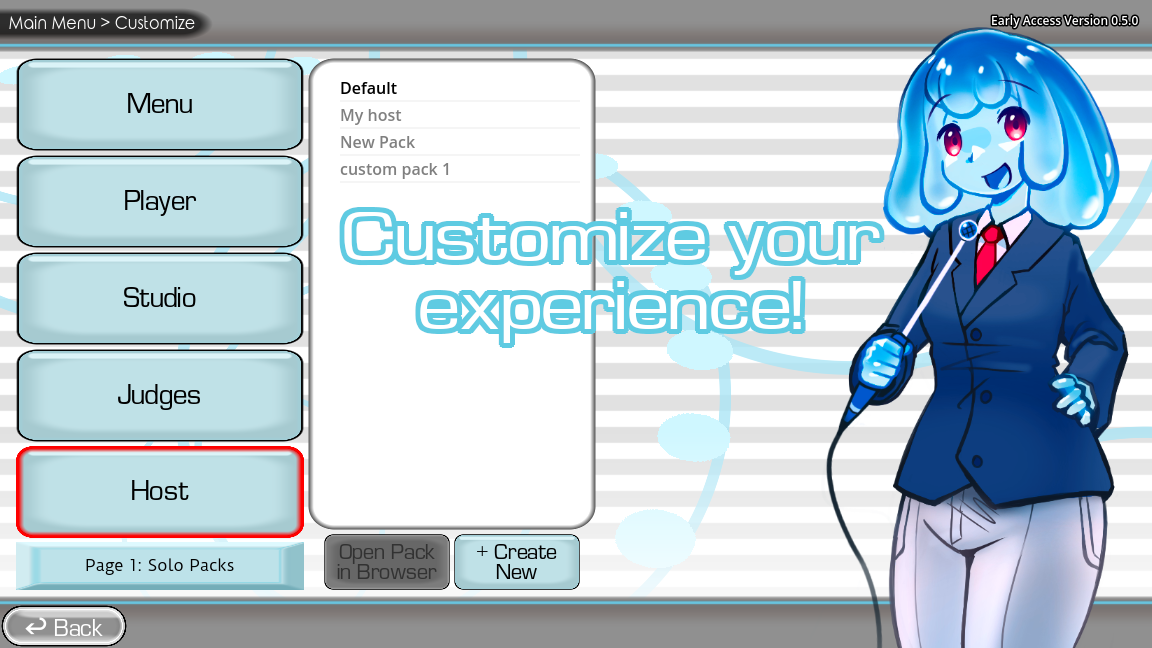
Game screenshots on this page come from YeahMaybe's official itch.io listing for The Choicer Voicer. All game art belongs to YeahMaybe.
Choicer Voicer Dub Save Location FAQ
Related Choicer Voicer pages
Feed the habit with new dub packs, learn the full game loop, or check which client version handles crash recovery best.
Found your takes? Put them to work
Load fresh dub packs from the official list, learn the Dub Mode loop end to end, or render your saved sessions into shareable MP4s with the community tool.